Credits: Layered template (Adventure 365, Template 7), Trick Or Treat and Trick Or Treat Cardstocks all by Jewel Goodwin (Mad Genius Designs) and More Than Words Celebrations Wordart by Darcy Baldwin and Jenny Hutson. Font is DJB Rita Script by Darcy Baldwin.
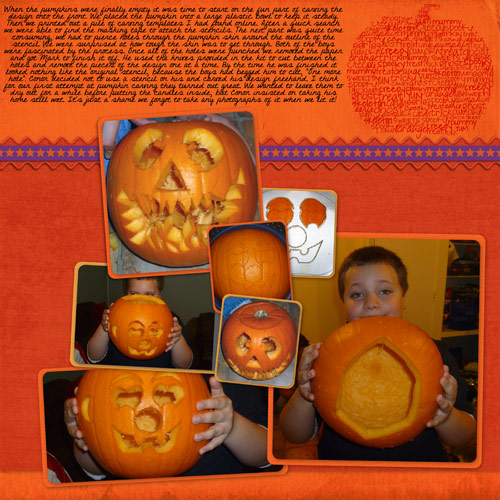
Journalling reads: When the pumpkins were finally empty it was time to start on the fun part of carving the design onto the front. We placed the pumpkin into a large plastic bowl to keep it steady. Then we printed out a pile of carving templates I had found online. After a quick search we were able to find the masking tape to attach the stencils. The next part was quite time consuming, we had to pierce holes through the pumpkin skin around the outline of the stencil. We were surprised at how tough the skin was to get through. Both of the boys were fascinated by the process. Once all of the holes were punched we removed the paper and got Mark to finish it off. He used the knives provided in the kit to cut between the holes and remove the pieces of the design one at a time. By the time he was finished it looked nothing like the original stencil, because the boys had begged him to cut, “One more hole”. Conor decided not to use a stencil on his and carved his design freehand. I think for our first attempt at pumpkin carving they turned out great. We wanted to leave them to dry out for a while before putting the candles inside, but Conor insisted on taking his home still wet. It’s just a shame we forgot to take any photographs of it when we lit it!
Wednesday, September 21, 2011
Pumpkin Carving 3
Subscribe to:
Post Comments (Atom)
No comments:
Post a Comment